Preparing artwork to ship out can be daunting—especially if it’s a large piece. I often have to build my own boxes from scratch to ship my paintings. I’ve had some practice now but I found it beyond daunting when I made those first long-distance sales. I’m creating this how-to with the hope that it will help other emerging artists.
I recently packed a painting that was purchased by an out-of-state Art in Res collector and thought I’d share some of my tricks with you. The painting I packed in this example is a 36” x 48” x 1.5” acrylic painting on canvas. Measurements should be modified depending on the size of your artwork but hopefully this example will provide some guidance for you. When creating the packaging for your artwork, it is key to create a snug fit. Any unused space in your box makes your artwork vulnerable to damage.
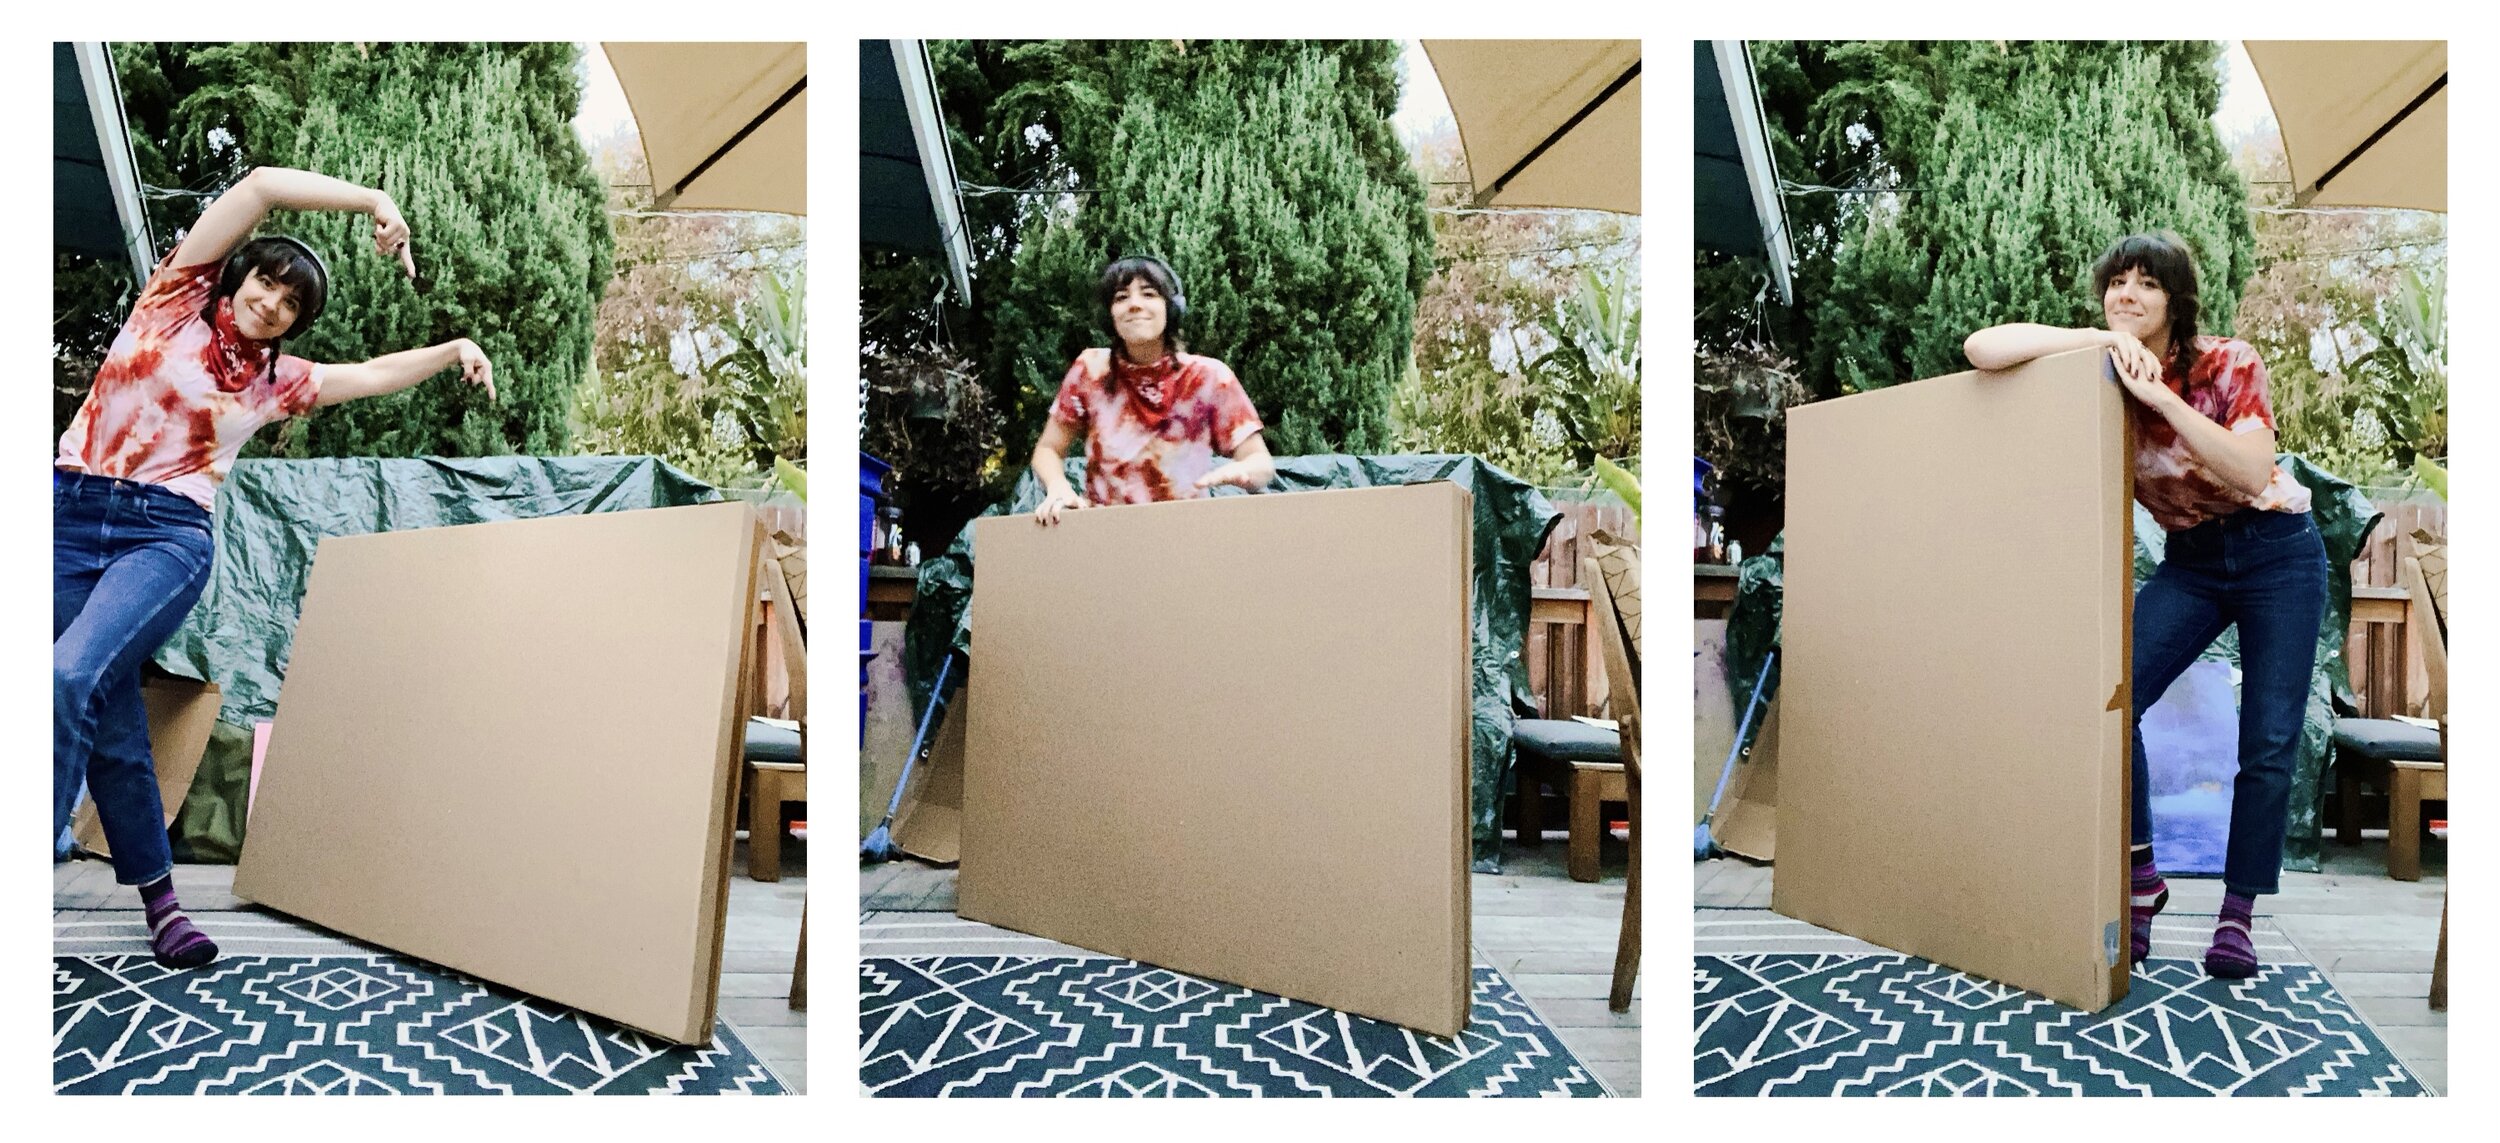
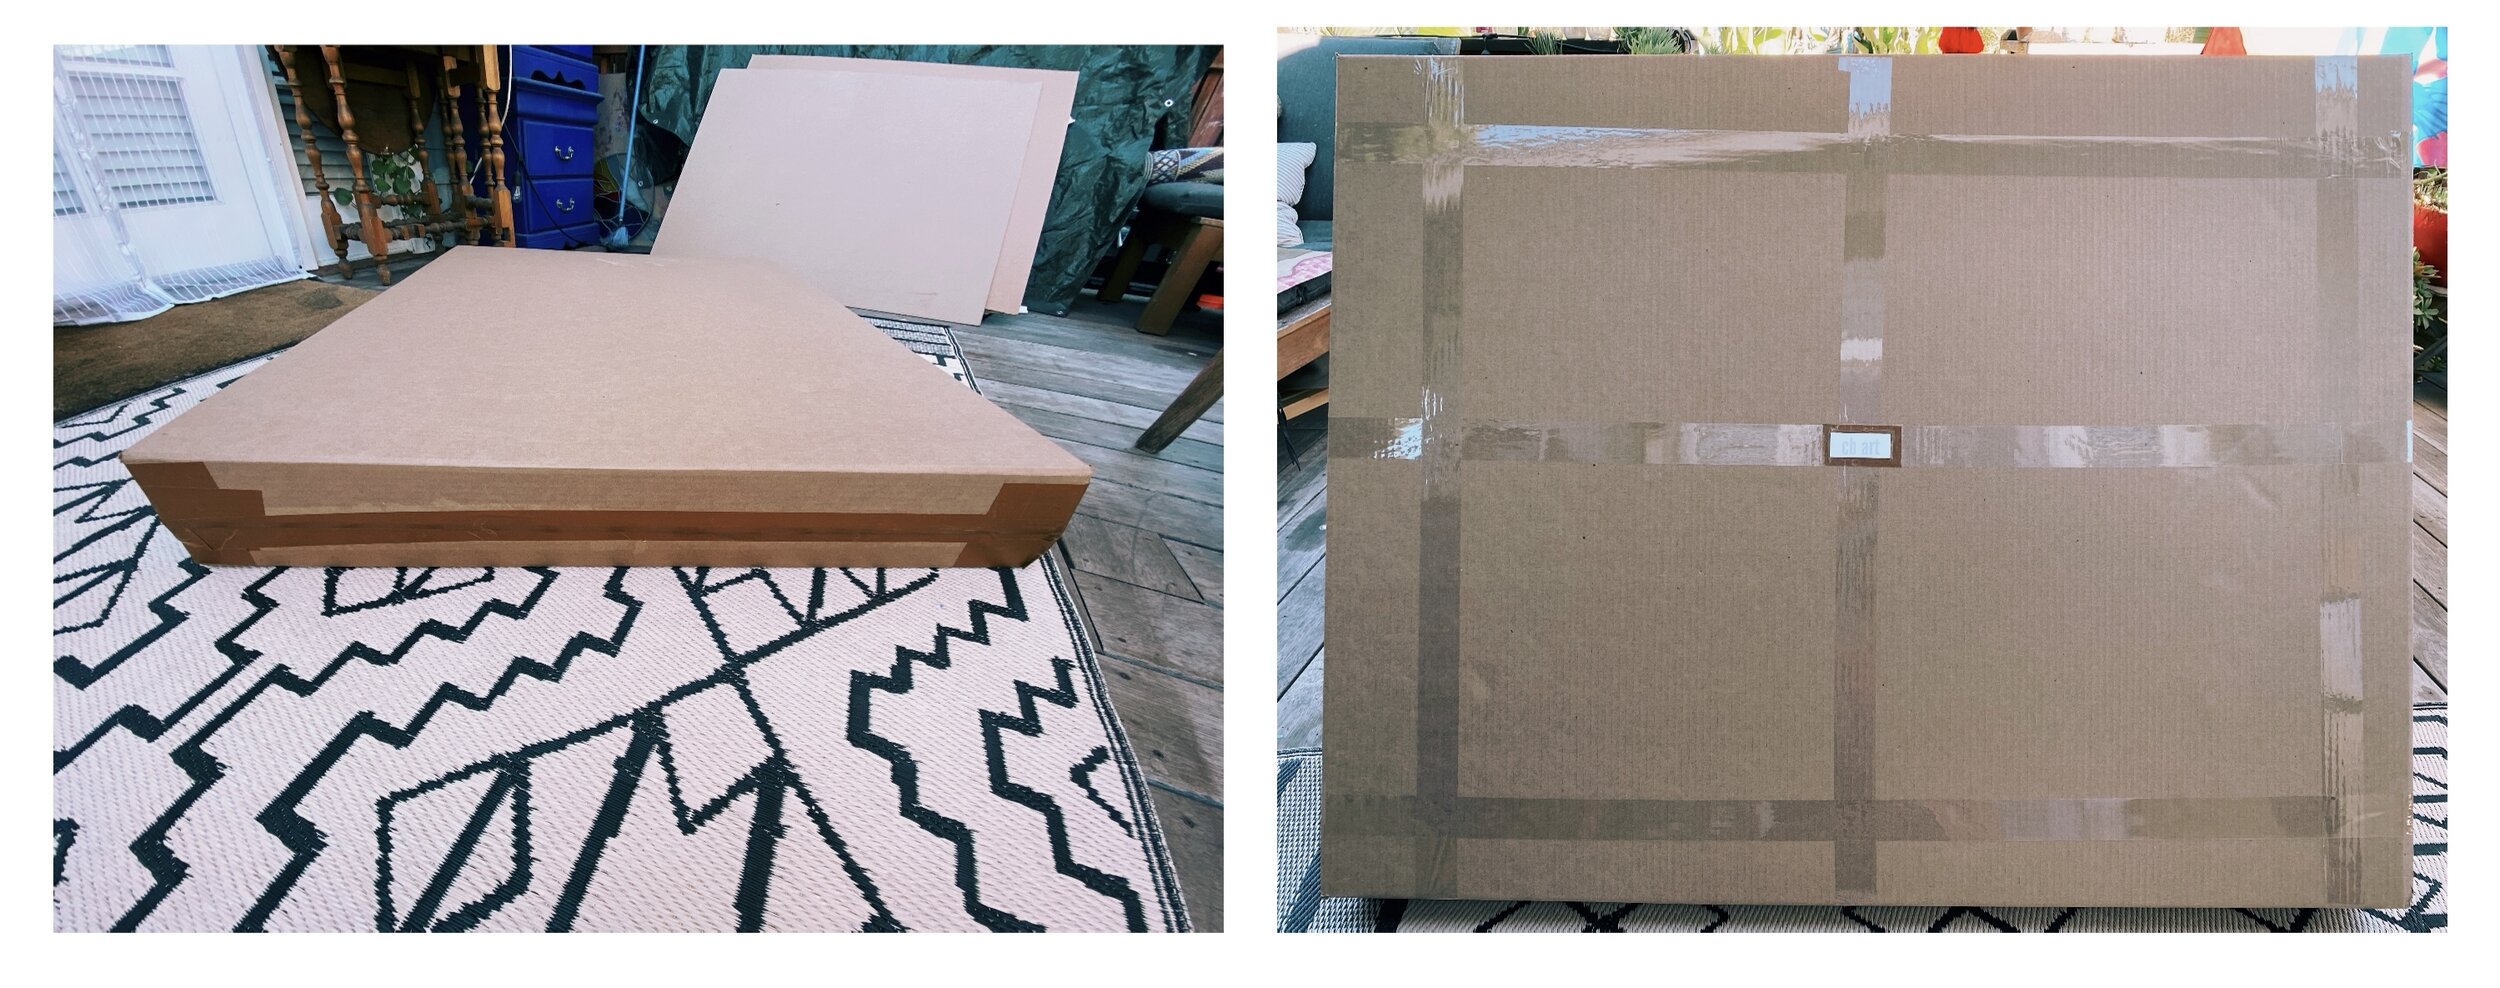
Artist Caroline Burdett and her custom built art shipping box (the finished product)
Materials (for 36 x 48 x 1.5 inch painting):
2x: 48x72” cardboard panels (cut down to 48x60”)
3x: 24x48x2” styrofoam boards (or preferably, an environmentally friendly equivalent)
Plastic Sheeting (at least enough to fully wrap around the painting
Xacto knife (you can use scissors or a sharp knife too)
Yardstick or similar for straight line cutting
Marker / pen / pencil
Brown packing tape (this is the best tape EVER)
Clear plastic shipping tape
Step One: COVER THE PAINTING’S SURFACE WITH GLASSINE PAPER
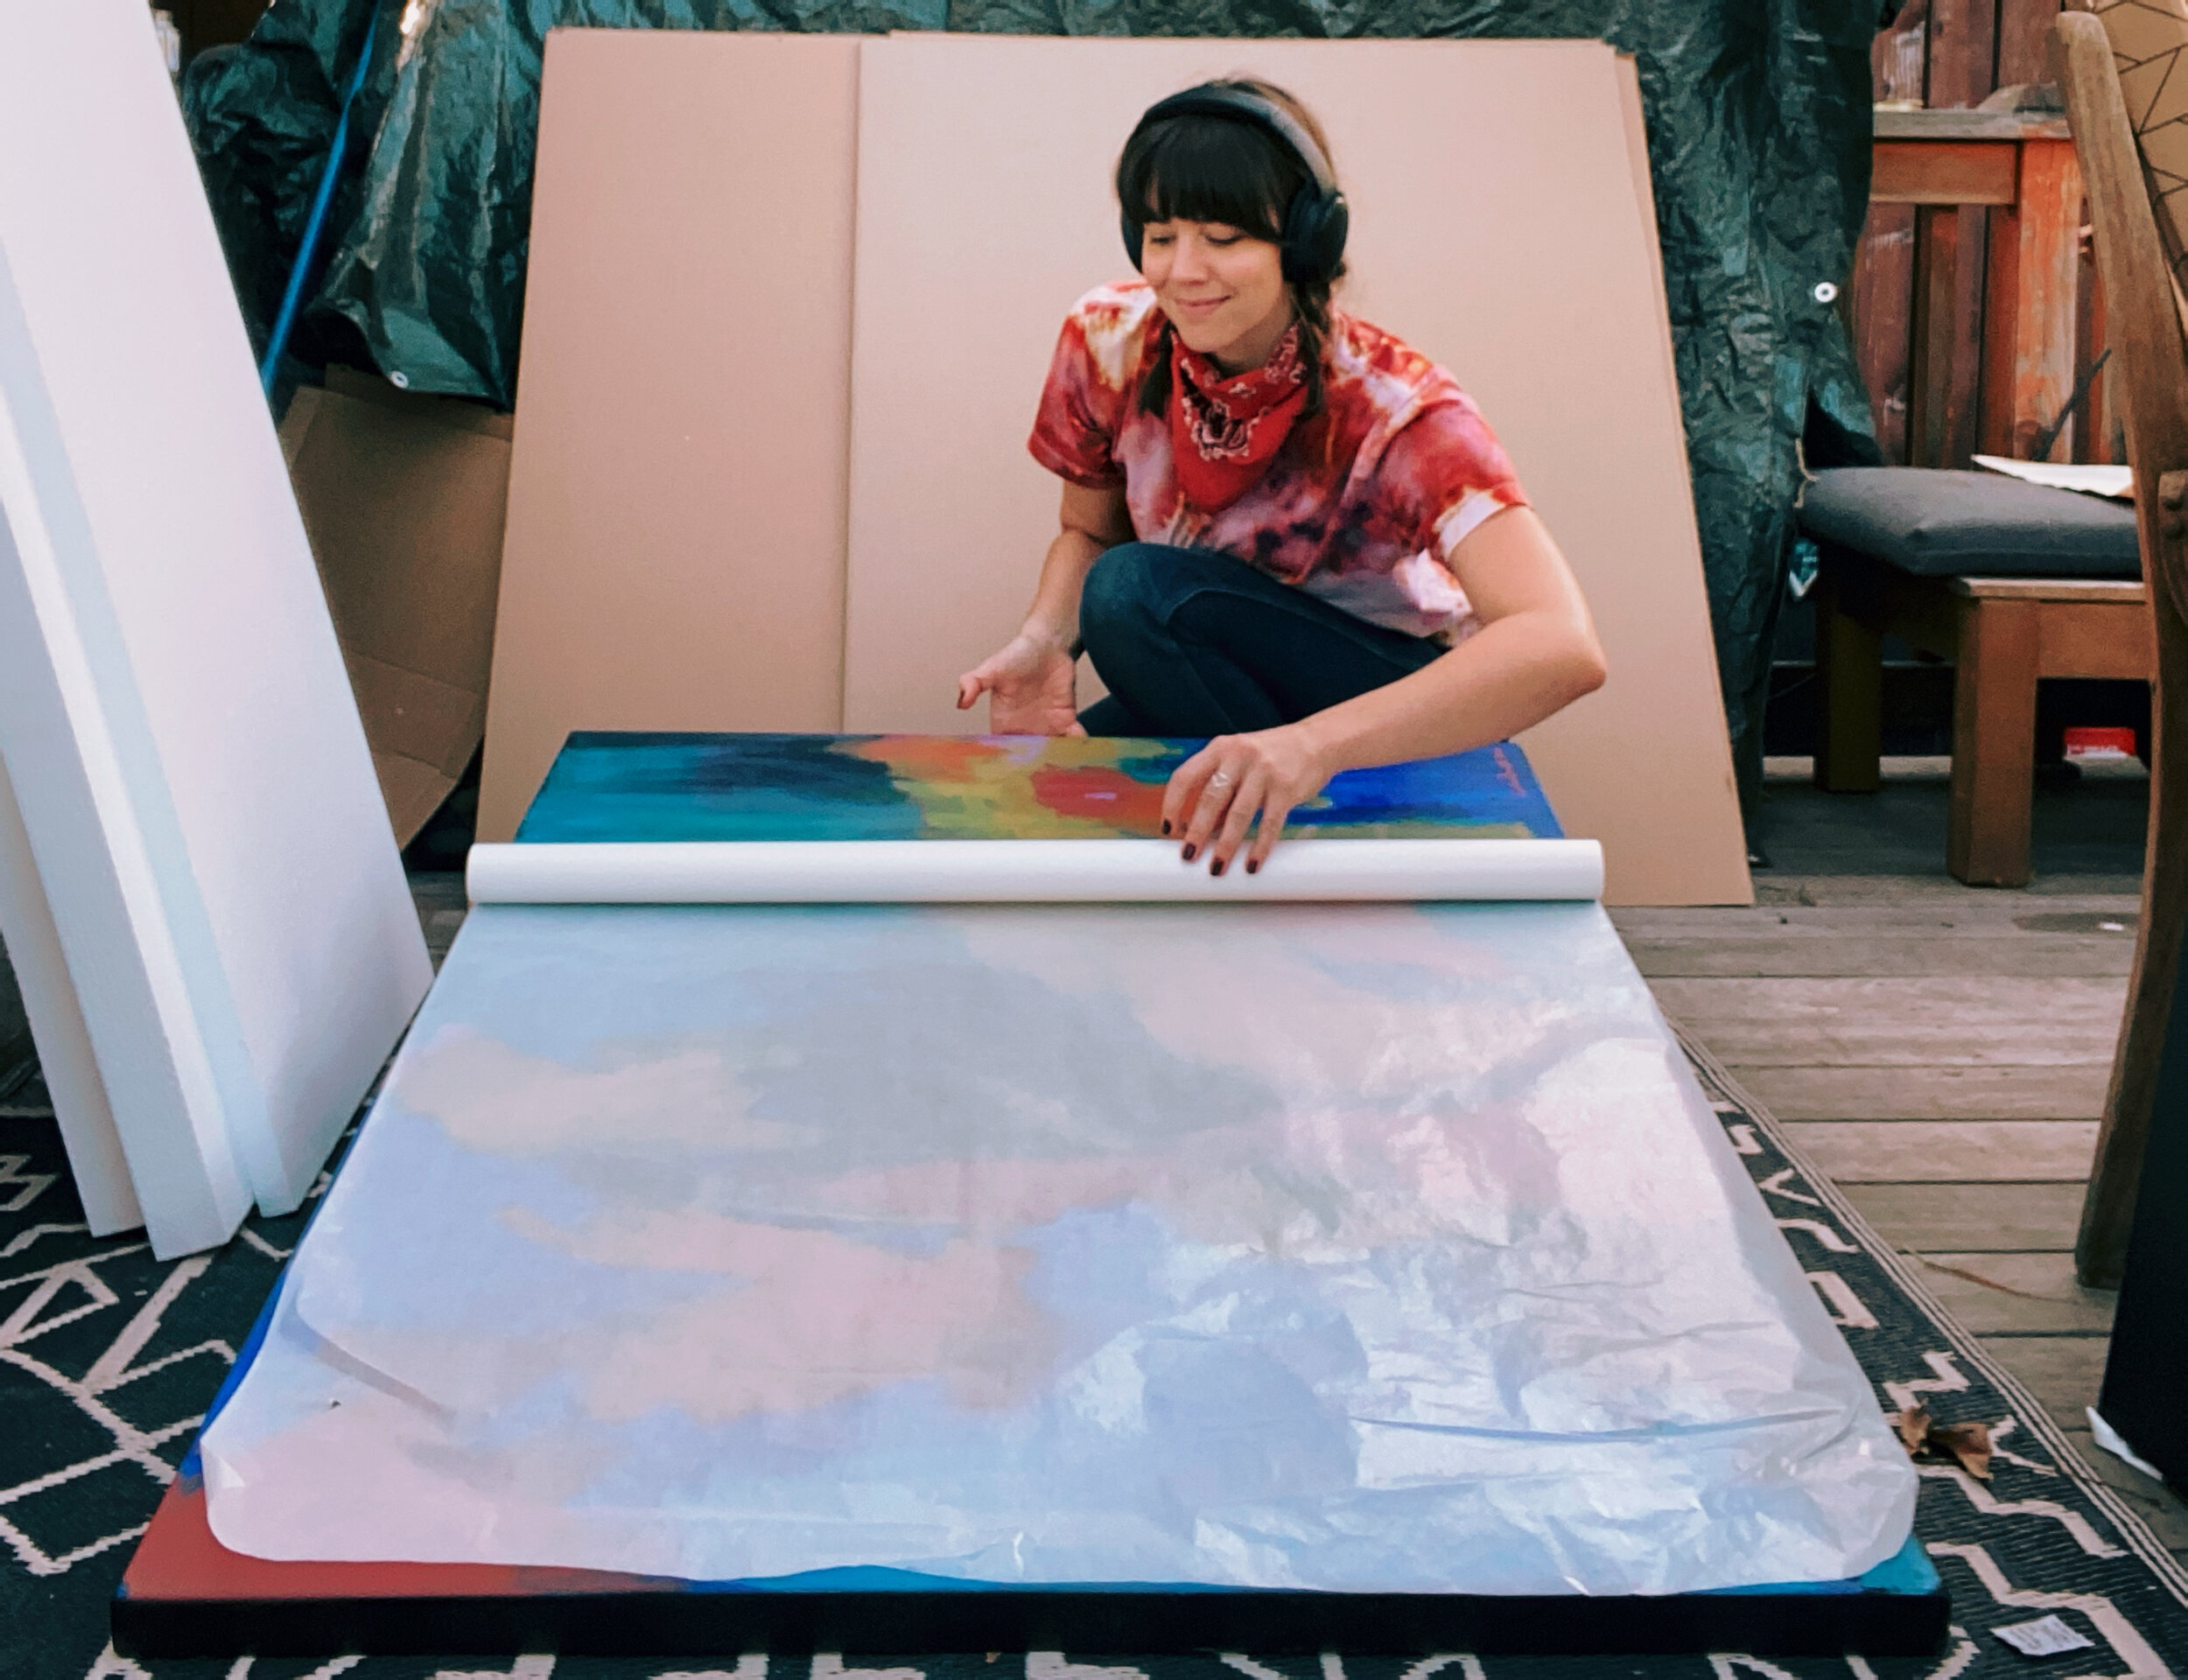
You only need to cover the surface of the painting with the Glassine paper. I use Canson Glassine Rolls, which has a neutral pH that is great for protecting your artwork from scratches. Use it as a slip sheet between your art when storing or during travel. I store my paper paintings between sheets of glassine paper at my home studio. It’s great stuff to have around.
Step two: protect the artwork from moisture
Make sure that your artwork is protected in case the package is exposed to moisture during its shipping journey. I used Frost King Polyethylene Sheeting. Make sure you tape it up well so that the package is well-sealed to protect from water. Wrap it as if you’re preparing it to be dropped into a body of water. You never know what can happen when the painting is out of your hands! I’ve had some truly horrible experiences shipping artwork. I promise you—it’s better to be safe than sorry.
Step three: ADD A THANK YOU NOTE (& INCLUDE YOUR BUSINESS CARD)
Just a suggestion :) Slip it in with the painting to keep it safe from moisture. And never miss an opportunity to share your website or Instagram page. I know it can be uncomfortable, but as artists we have to promote ourselves! You owe it to yourself and to your work.
Step four: CUT the PACKING MATERIAL (I USED STYROFOAM HERE, BEGRUDGINGLY)
The wax on the blade makes a huge difference and creates a nice clean cut.
Make sure to check your community ad boards for free/used styrofoam before you buy it new. I’m currently seeking a green packing solution to replace styrofoam because it is awful for the environment!
I cut one of the three 24x48” boards in half (to 12x48”) to create a 36x48” surface to cover the front and back of the painting. I developed a little trick for cutting the nasty styrofoam that helps prevent the absolute mess that typically ensues….and that solution is WAX! Grab a sliver from an old candle.
Take a knife (bread or serrated is a good idea) and carefully rub some wax on both sides of the blade. I used wax from a prayer candle that was on its last legs. The wax makes the blade pass through the styrofoam more smoothly, majorly minimizing the wreckage that typically occurs when you cut styrofoam (less mess).
To reiterate, the styrofoam pieces (once cut) measure:
2x: 48x24”
2x: 48x12”
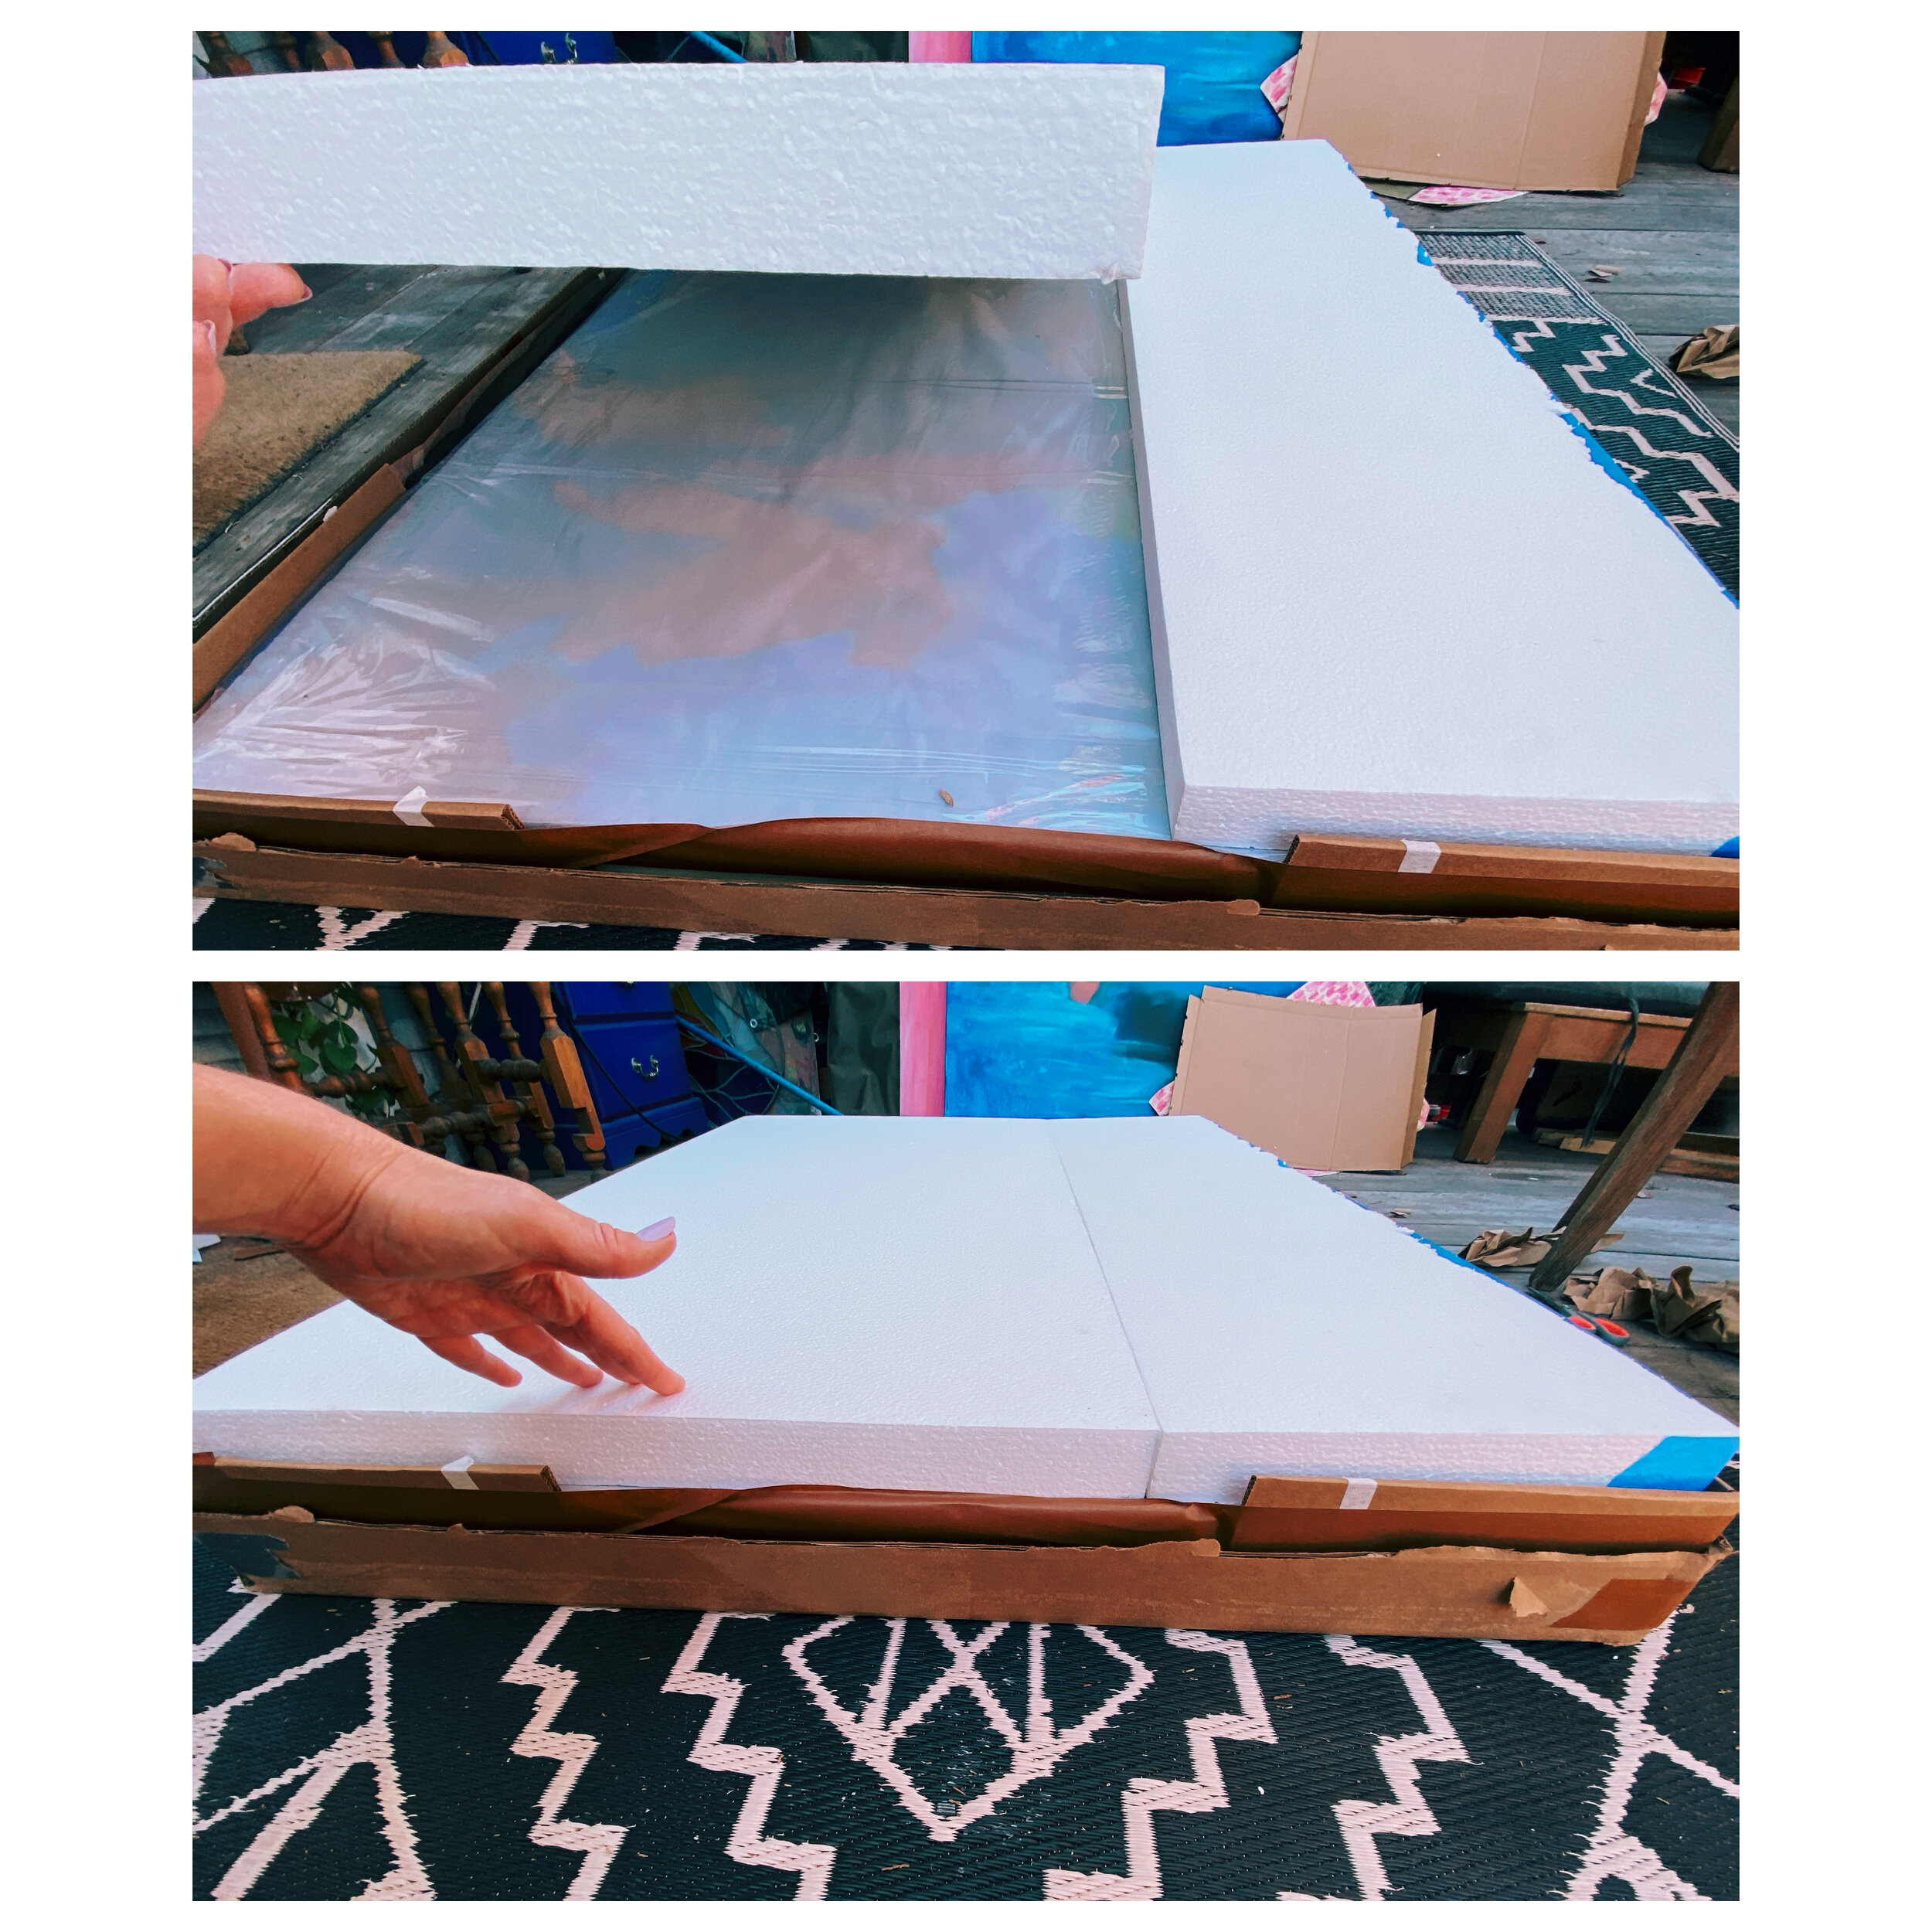
Combine them and you have two 36x48” boards to cover the surface area, front and back.
Step five: Wrap the artwork in its custom cut padding
Combine the pieces so that they cover the 36x48” surface (front and back). It is important to protect the front and the back of the canvas.
Add one or two inches of padding around the frame of the artwork as well (see diagram below).
I happened to have corner protectors on hand, which are great but not necessary if you add 1 to 2 inches of padding around the outside of the frame.
Step six: cut & score your cardboard
Lay your cardboard panel on the ground and put your wrapped and protected artwork on top. I recommend using your artwork and it’s cushioning (styrofoam, etc) as your guide as you measure out your cuts and scores for the box.
Make sure your frame edges are protected by adding padding around the sides. The diagram measurements account for adding two inches of padding around the frame.
You can trace the form directly onto your cardboard panel if the form (the artwork AND the protective material bundled together) is very straight, but most likely it will help to use a yardstick to help trace a straight line. A straight line is crucial for a pro looking box.
Once your lines are traced, score them with an Xacto knife, or scissors. Make sure you don’t go all the way through the cardboard! Just enough so that you can bend along the scored line. You may do a full cut on the 4” end, but I recommend only doing so on one per corner—that way you can use the extra 4” to wrap around and strengthen the corner when you fold it in.
With the artwork on the cardboard, bend the edges up and tape the corners to create 90 degree angles.
You can slide the other cardboard panel underneath the box shape you just created and use it to trace & score the other half of the box. The measurements will be almost identical to the original but make one slightly larger than the other (by 1/4 or 1/2 inch). That way the second half will fit over the first half, like a gift box top.
Step seven: build your box
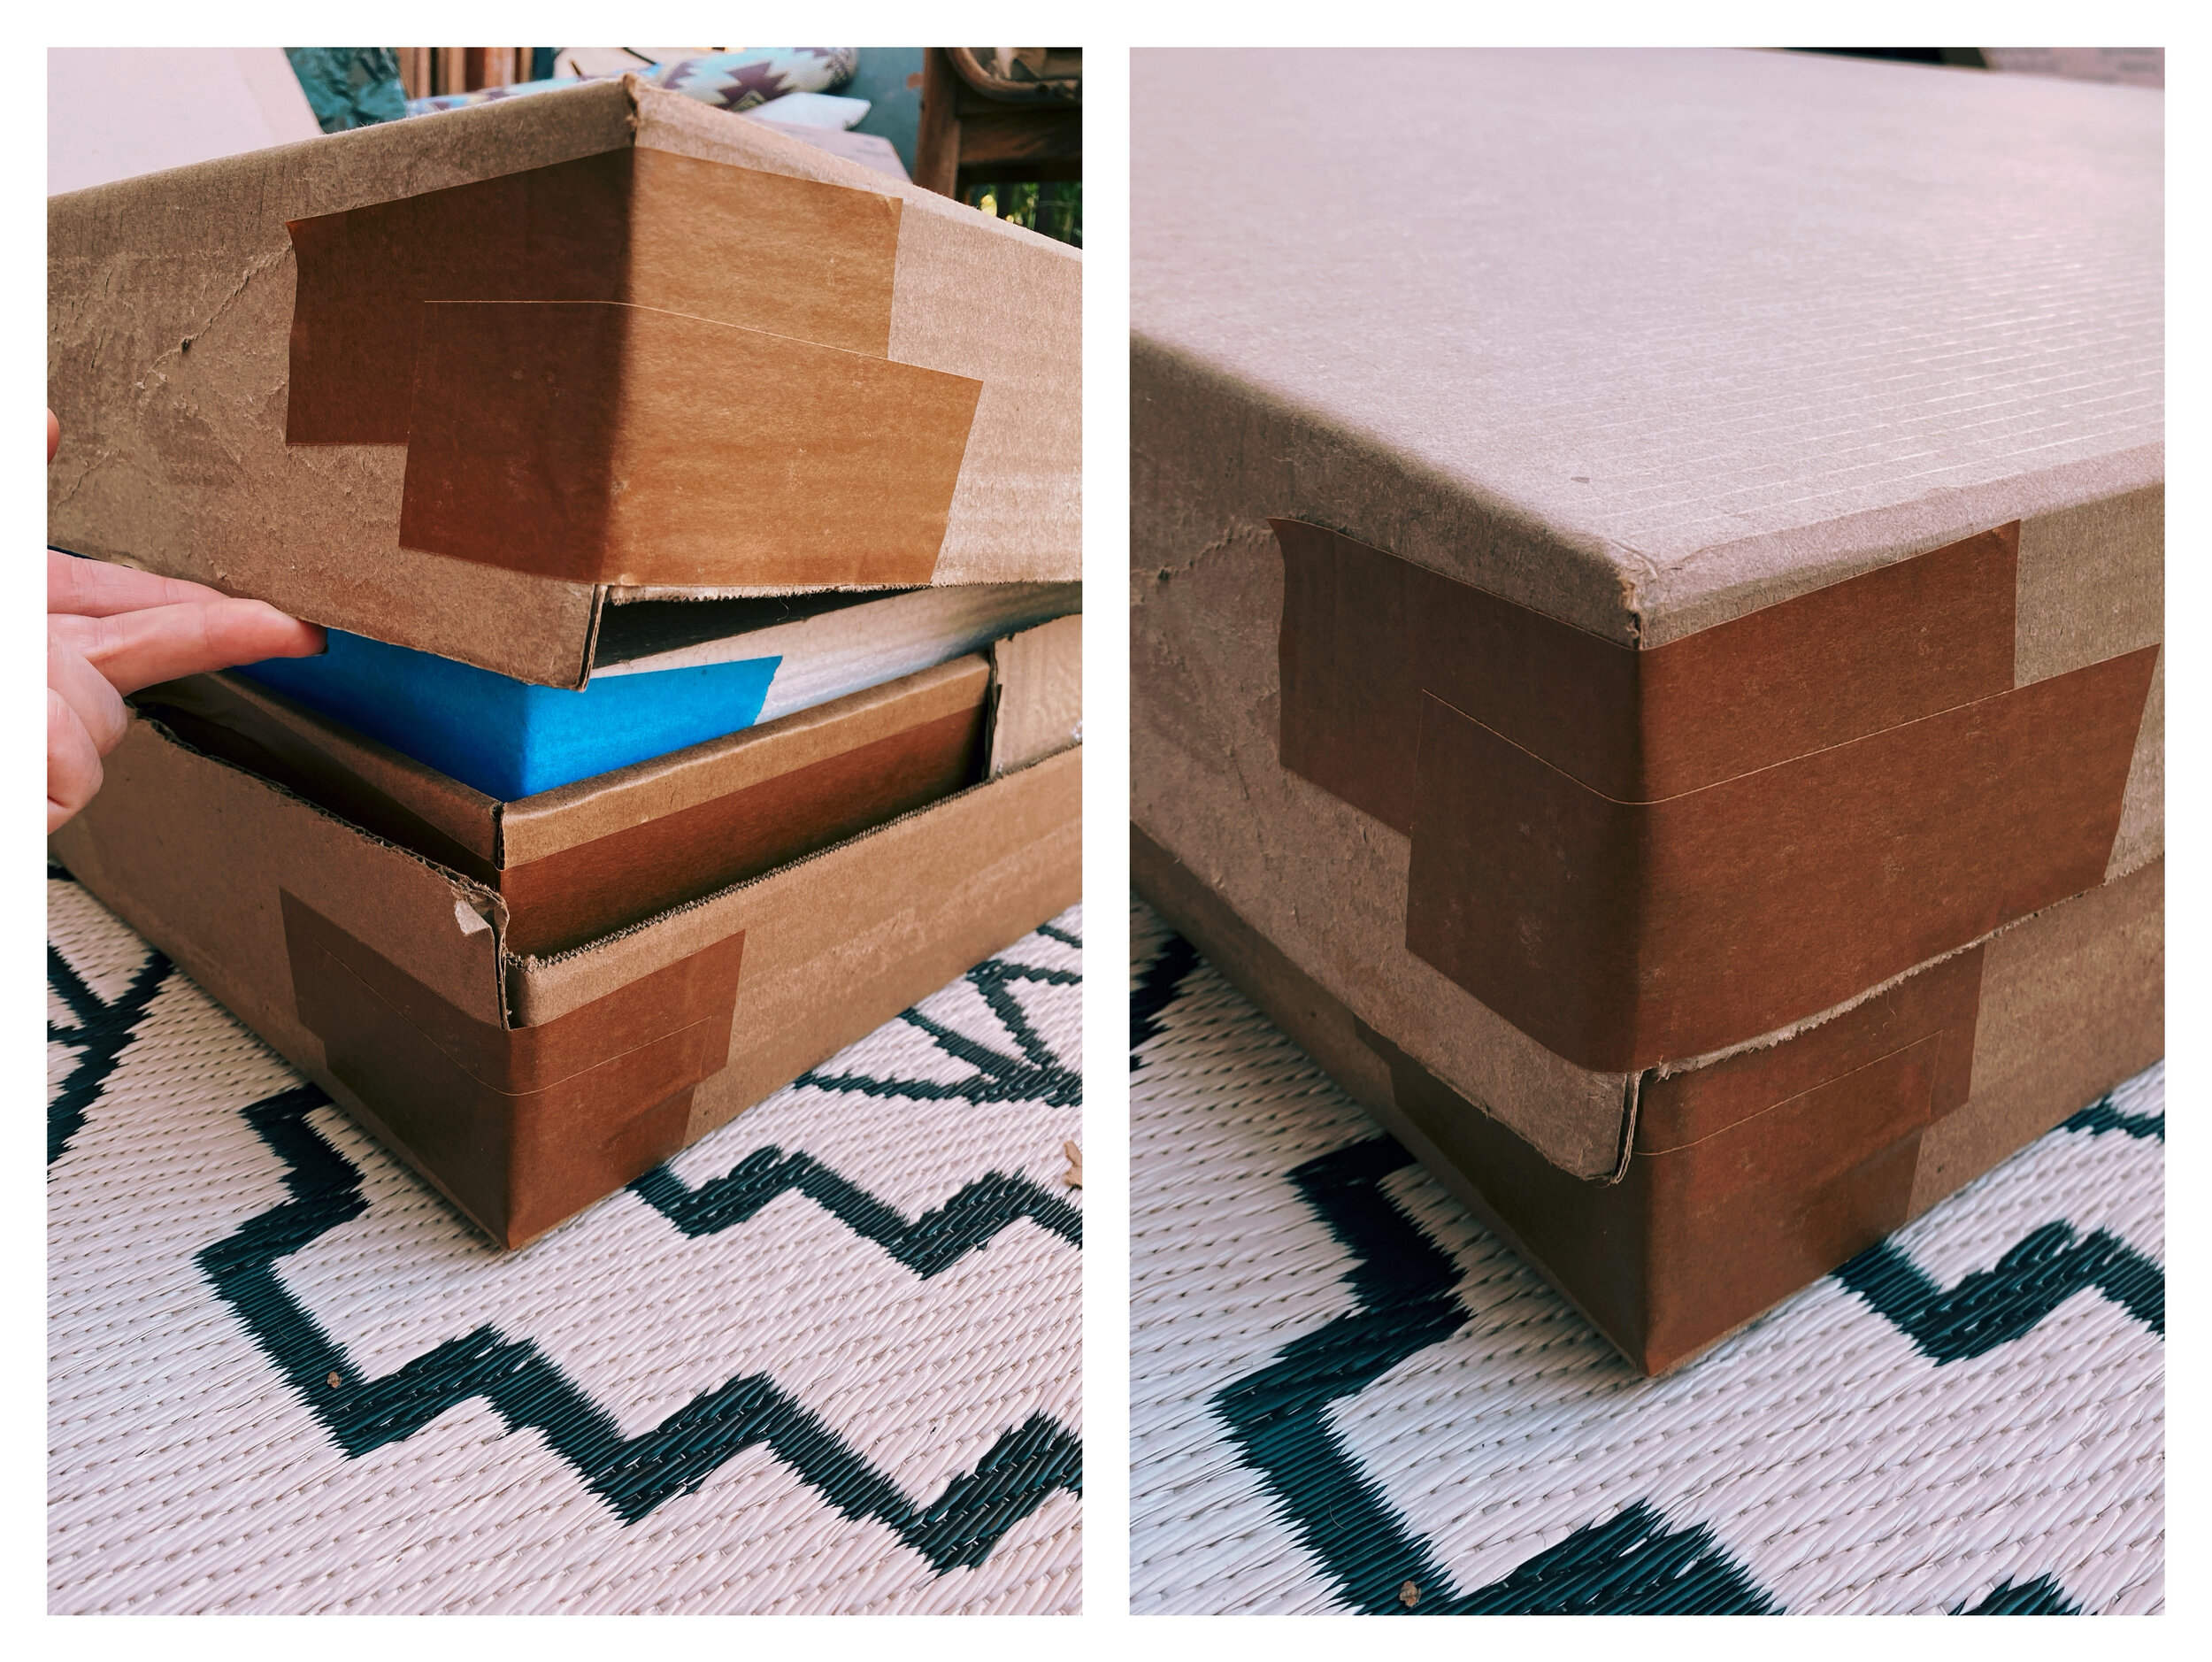
Now it’s time to put it all together. Simply tape the two sides of the box together (with the padded artwork inside, obviously). They should fit together so that one side overlaps the other. If you don’t get it perfect right away don’t panic. You can remove the tape on a corner or two, and recombine the halves so that they fit together and then re-tape. In the beginning I dropped off some pretty deformed looking boxes at the shipping place but they did the trick.
Tape all the way around the sides of the box so there are no gaps
Finish the box off with the clear plastic shipping tape to reinforce the box. And add your card or logo if you’d like!
I like to tape my card on the box so the collector knows that the package is from me.
And you’re good to go!
shipping logistics: fedex, ups, usps
I’ll just say a couple things about shipping logistics. I have used USPS, UPS, and FedEx. So far, FedEx has been the most reliable but is also usually the most expensive. UPS has straight up lost one of my paintings and USPS has literally crushed one. Insurance with UPSP is useless—they won’t pay your claim. MAKE SURE YOUR PAINTINGS ARE INSURED through UPS and FedEx if you are shipping works privately. Make the sale as professional as possible in case you need to show an invoice to support an insurance claim. PayPal is helpful for this—you can create invoices, accept payment, and add tax to your sale. I say avoid USPS all together, sadly. If you’re shipping work regularly I recommend you get a ShipStation account or the equivalent, where you can also estimate shipping costs. Perhaps I’ll write a separate article on this topic a little later if that would be helpful to anyone! Feel free to comment below.
You’re now a box maker and also kind of a badass
good job and thanks for visiting

