Hi I’m Caroline. I’m an artist and I’m somewhat nomadic. I recently drove from LA to North Carolina in my station wagon filled with all of my earthly possessions—including my many, many dozens of paintings. In order to fit all of my unsold work into my little car, I had to disassemble all of my stretched canvas paintings. I got pretty good at it. So I thought I’d share what I learned with you here.
This wasn’t my first time disassembling a painting. When a long distance buyer doesn’t want to pay hundreds on shipping a stretched canvas painting (shipping art is CRAZY expensive), I usually give them the option to have the painting shipped in a tube and for them to have it re-stretched themselves.
Generally, there are two types of stretchers that require different types of disassembly: Regular stretchers and Splined Canvas stretchers. I’ll show you how to disassemble both.
Tools:
Glassine Paper (optional)
Step One: Lay the painting face down on a neutral surface
I feel like this is a no-brainer but just in case it’s not then let me tell you: don’t lay your painting face down on a bed of nails, a pile of gravel, or another such textured surface that might scratch the surface of the canvas (unless that’s part of your process). I usually use a tarp or blanket.
Step Two: remove the canvas from the stretchers
Regular Canvas
For regular Canvas stretchers
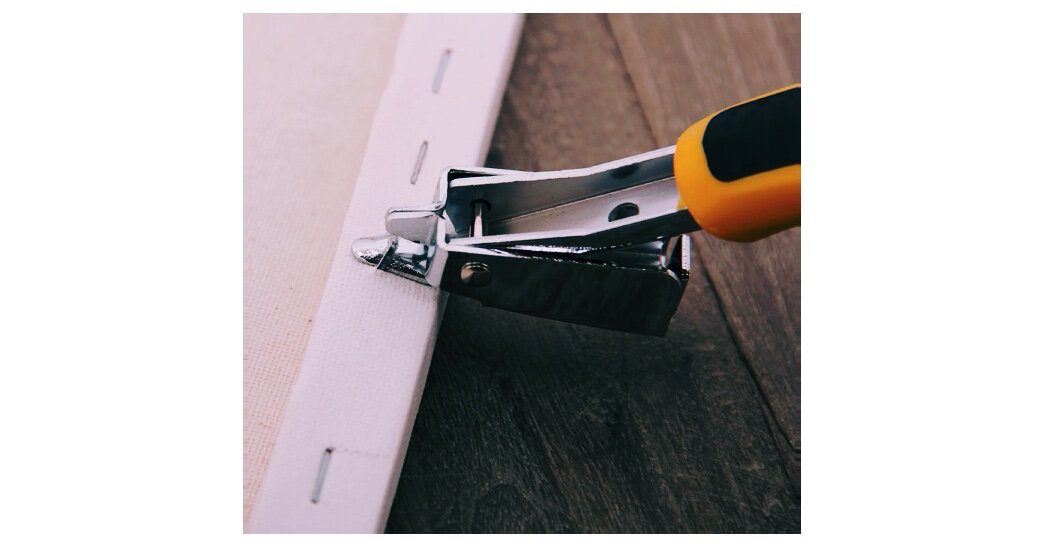
Go easy at first. It can be hard to get under the staple without puncturing the canvas. Assuming you want to be able to re-stretch the canvas, you’ll want to avoid poking a bunch of holes in it. I highly recommend investing in a heavy duty staple remover. It makes a big difference and they’re not expensive. Keep a pair of pliers nearby to pull the ones that don’t come out all the way on the first try.
Splined / Gallery Wrapped Canvas
for splined canvas stretchers
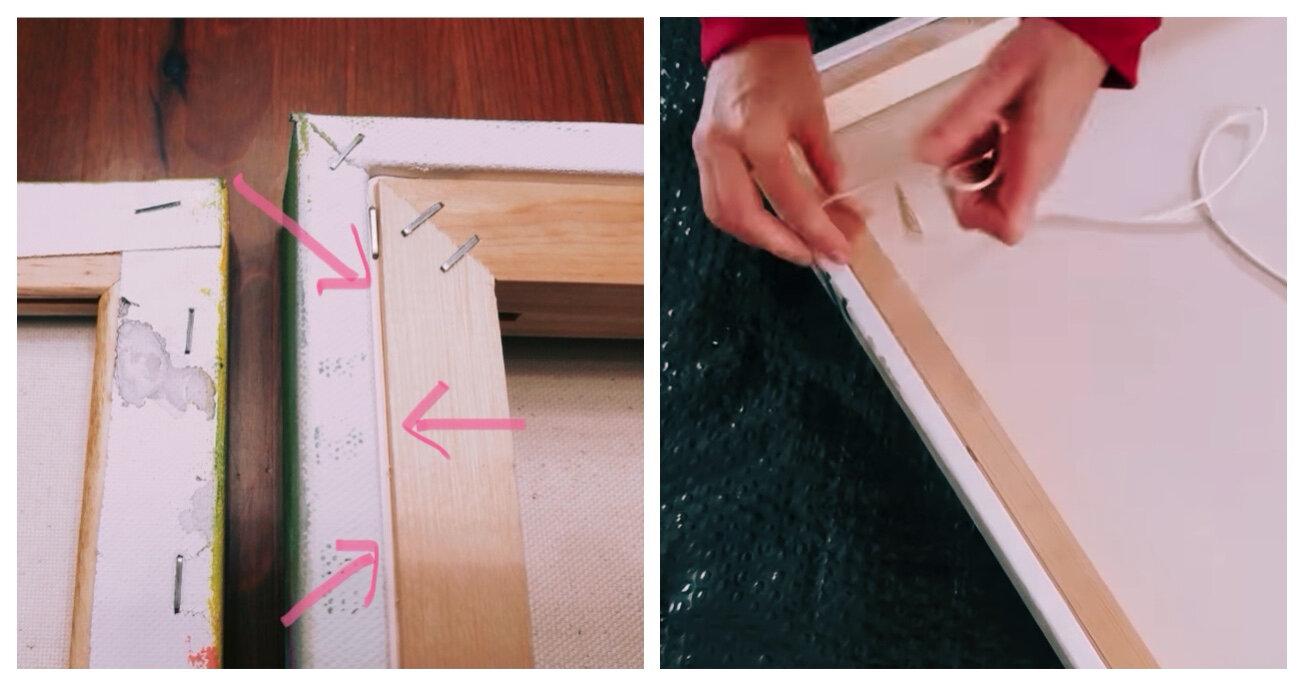
Splined or Gallery Wrapped canvases give the back of a canvas a neat, clean look. But personally, I’m not that concerned with what the back of a canvas looks like. For these, it’s less about pulling staples and more about removing the chord without damaging the frame too much. You will have to remove a few staples that hold the chord down, so start with those and then you can use your staple remover to get under the chord to pull it out. Watch the side corners, because there is often a hidden staple in one side to help with the tuck. Once the chord is removed the canvas is free and you’re good to go.
Step Three: Remove the canvas and roll it up
You can put a sheet of glassine paper on the surface side to protect it.
Step four: Disassemble the stretcher frame
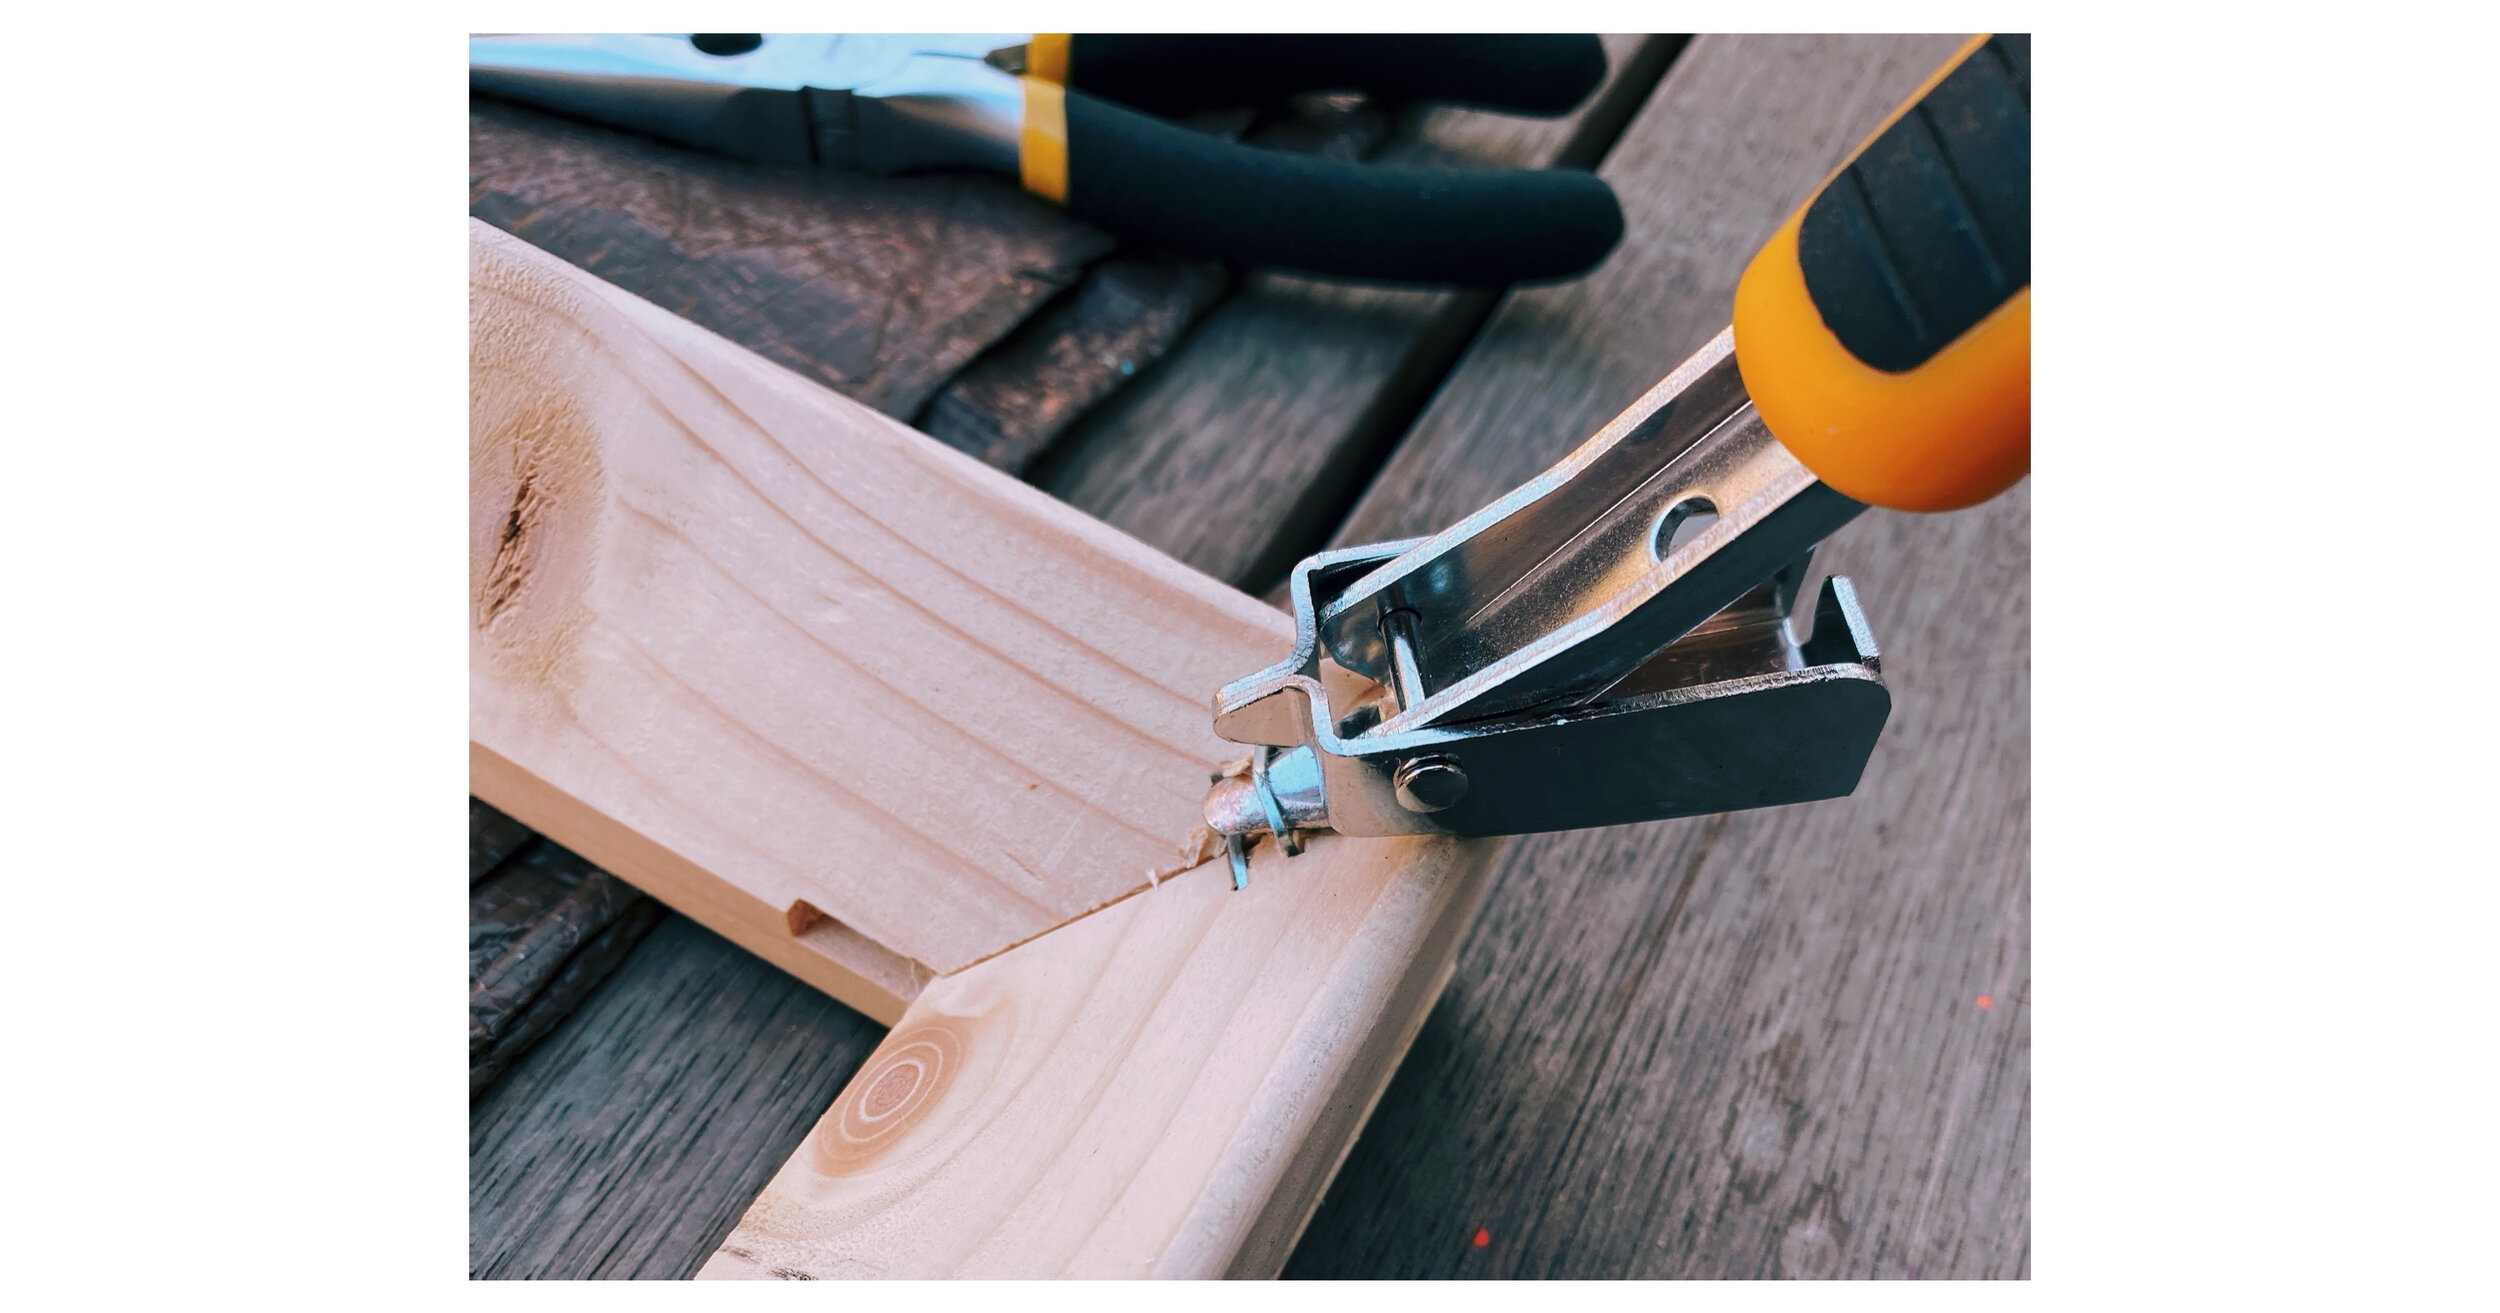
Find the staples and pull ‘em out. If the stretcher has crossbars, and most larger ones do, remove those staples as well. Usually the frames are not glued together (thank god), so once the staples are all out you can just pull the pieces apart. Do this carefully so you don’t split any wood.
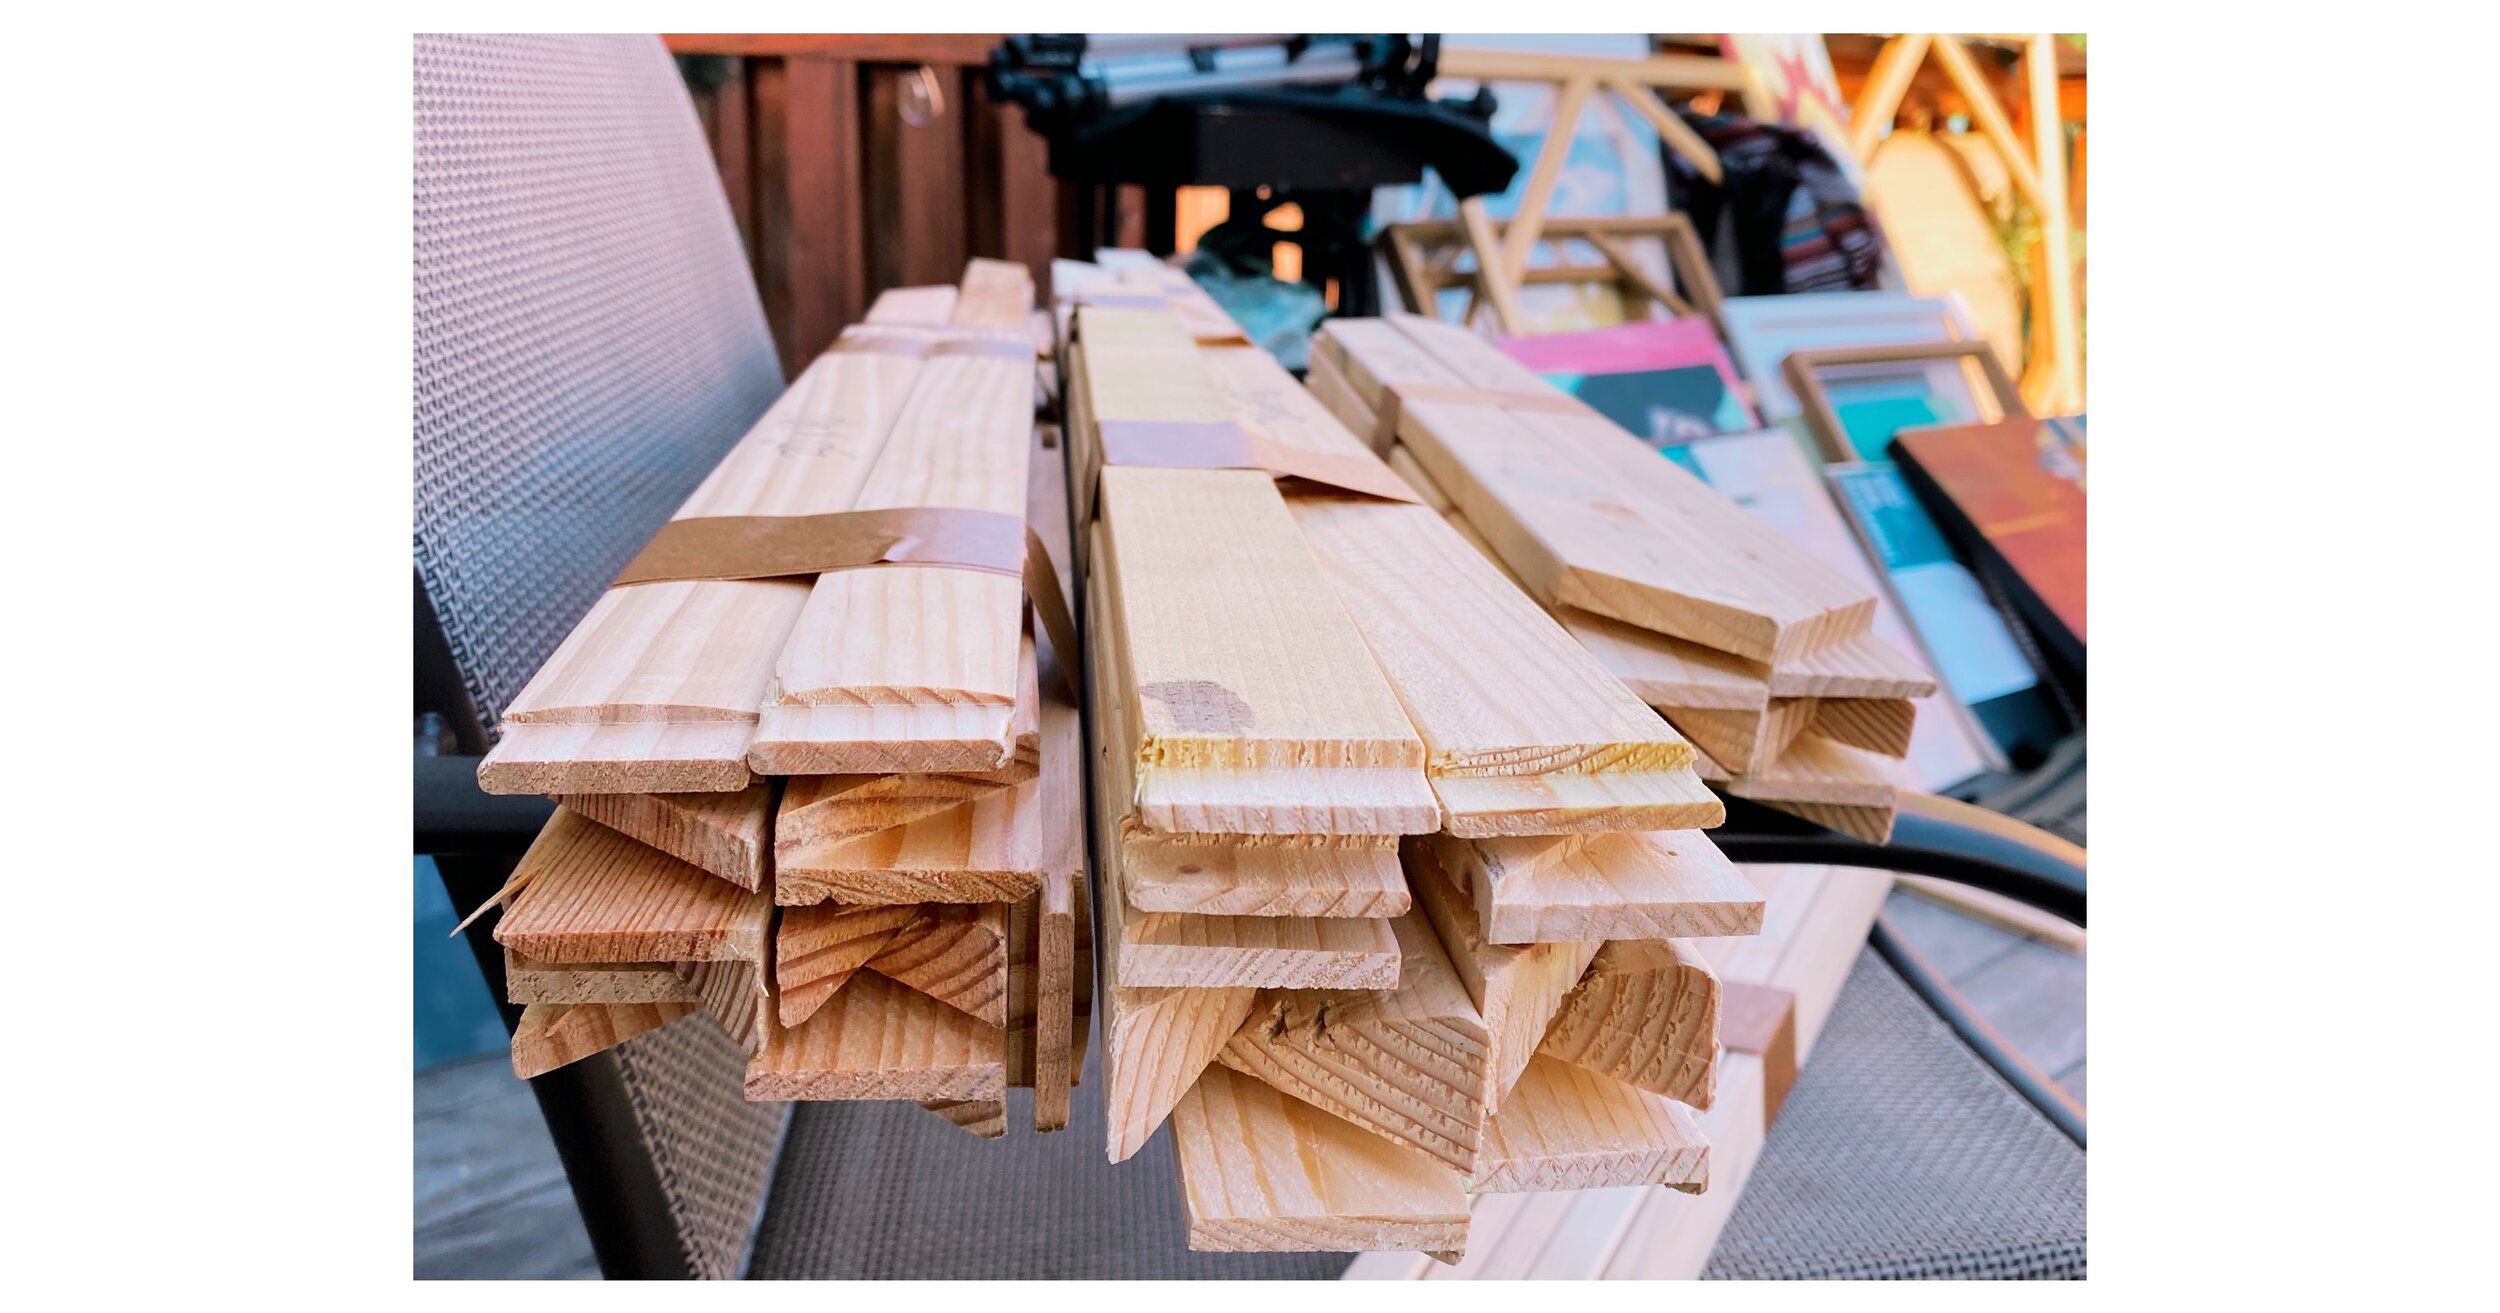
Step five: Bundle your frames and label them
Shipping Tubes
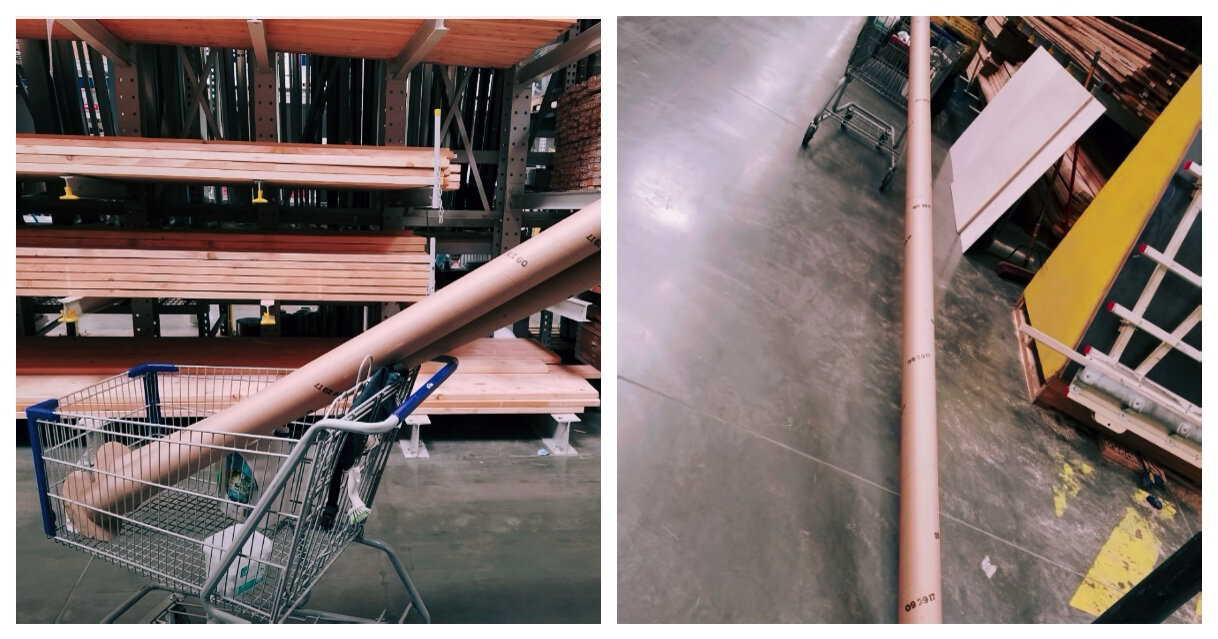
I didn’t come up with this—in fact I got the idea from an artist named Betty Franks, but I thought it was pretty clever. These are empty carpet roll tubes from the hardware store that she picked up for free and had cut to size. Just fashion a cover for both ends (lots of packing tape might even suffice). My recommendation for shipping is to put the painting in a water-proof wrapping of some type before putting it in the tube. You just never know what might happen during shipping.
You can find shipping tubes for sale at box and moving shops and online too. Just FYI, the owners of Uline, the company that usually has the most options for shipping tubes, are major Tea Party conservative donors that backed Trump so personally, I CANNOT support them. That’s just an FYI.


